
Amtrak Acela Express passes Niantic Beach October 2002

This image was part of a sequence aimed to fulfill a commission by Mark Hemphill when he was Editor of TRAINS Magazine. While one of the other images in the sequence eventually appeared in the magazine, a tightly cropped version of this photo appeared on page 160 of my book Modern Locomotives—High-Horsepower Diesels 1966-2000, published by MBI in 2002. My MBI caption reads: “Amtrak road No. 1 is a P42 GENESIS™ built by General Electric at Erie, Pennsylvania, in 1996. In October, 2000, it led Amtrak No. 449, the westbound Boston section of the Lakeshore Limited, at West Warren, Massachusetts. The locomotive wears Amtrak’s short-lived Northeast Direct livery that was discontinued with the introduction of the Acela livery in 2000.” It was exposed with Nikon N90S fitted with 80-200mm f2.8 zoom lens. I selected a relatively slow shutter speed, probably 1/60th second, and panned the front of the locomotive as it rolled by. Track speed is 60mph for passenger trains, so there was plenty of movement to allow for background blurring.
Visit Voyageur Press/Quayside Publishing for my latest railway books.
On this warm May evening in 1986, I exposed a trailing view of Amtrak’s westward Lake Shore Limited as it hits the Central Vermont diamond at Palmer. The train radiates the glint of the setting sun. Between eastward and westward main-tracks, Conrail has installed the dispatcher controlled switch that in July 1986 became ‘CP83’ and resulted in the removal of the old westward main track on the Boston & Albany route between Palmer and Springfield (CP92). [The numbers of the control points signify the approximate distance from Boston’s South Station.] At the left is the canopy on Palmer’s Union Station which Conrail removed in November of 1986. Today the old station has been restored inside and serves as the popular Steaming Tender railroad-themed restaurant.


It was exactly 20 years ago today; November 20, 1992, I made this photograph of an Albany-bound Amtrak train along the Hudson Line near Breakneck Ridge north of Cold Spring, New York. Like today, this day in 1992 dawned cold and crisp. I was armed with my Nikon F3T with a 35mm PC (Perspective Control) lens and loaded Kodachrome 25 film. I metered manually with my Sekonic Studio Deluxe hand-held light meter. Amtrak’s classic FL9s were still working the Hudson Line on Empire Corridor trains. Later in the decade these were supplanted by modern General Electric dual-mode Genesis locomotives. Back then this train was common; today it’s a classic. Likewise, Kodachrome 25 was then my staple film, but its been gone for several years (discontinued well before Kodak stopped making K64). Wait 20 years, and see what changes unfold. Time passes and everything changes. Make your photos as you see them.

Technique: Customizing process for optimal tonality with minimal post-process adjustment
I promised to reveal secrets! While I won’t tell you which American railroad CEO is a serious railfan, nor will I divulge which North American railway company is on the verge of centrifugal destruction, I will spell out the details of my proven black & white process!
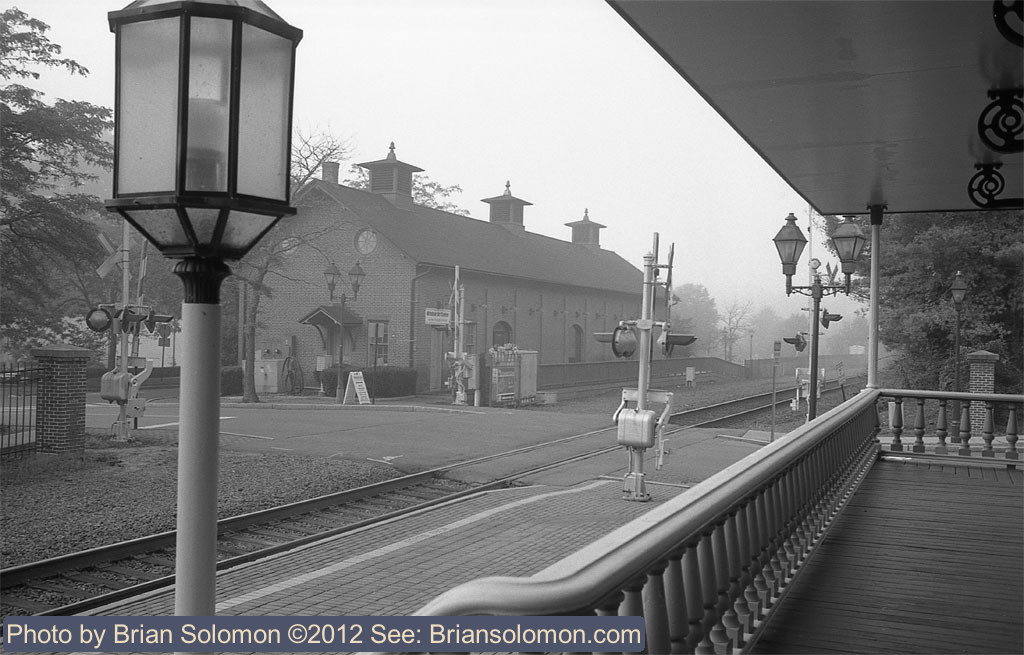
In Installment 5 Black & White revisited Part 1, I elaborated on my philosophies and theories behind my traditional black & white photography. I’m not going to rehash that any more than necessary, instead I’ll detail the formulas and specifics of my process so that other photographers may take advantage of my experimentation, and perhaps further refine the process. I go into great detail, so hopefully the specifics will be easily understood.
Back in the late 1980s, I’d refined my B&W photography using Kodak Tri-X and other period films. Typically, I’d overexpose by a stop (basically by rating ‘400 ISO Tri-X’ at 200 ISO—a one stop difference, although in actual practice my system of exposure was more complex). Then, using a diluted mix of Kodak D76 or Ilford ID11 (1:1 developer to water), I’d under-process the film by about 20-25 percent from recommended time. My intent was to produce negatives that while appearing on ‘thin’ side in fact offered adequate detail to produce beautifully rich prints with deep blacks, and a full range of grays with minimum visible grain (in an 8×10 inch print). At that time I preferred prints with relatively low contrast and lots of gray, yet which retained clean, white highlights.
Today my process is different. First of all, I now expose film with the intent of scanning the negatives and not for making chemical prints. Secondly, I’ve altered the process to produce a higher contrast image, one that I feel is better suited for digital display. Instead of Tri-X I’ve been largely working with Fuji Neopan 100 Acros (ISO 100). While initial experiments required a bit of post processing manipulation in Photoshop to adjust the gamma curve of the film image, ultimately I aimed to produced negatives that don’t require this time-consuming post processing adjustment, and more to the point, look great on a computer screen; the intended output is Apple’s iPad.

As I mentioned in Installment 5, Black & White revisited; Old Tech for a New Era part 1, I experimented using my antique Leica IIIa with a 21mm Super-Angulon; with these tests I exposed Acros at its recommended 100 ISO, while using a hand-held Minolta Mark IV light meter in reflective mode to calculate exposure (and fine tuning the exposure aided by more than 25 years of my experience working with that unforgiving medium called ‘color slides’). With my exposure calculations my goal was not just to get a satisfactory exposure for each individual frame, but to maintain consistency through-out the entire roll of film, as I would with color slides. (Just for reference my typical daylight exposure with 100 ISO film in ‘full’ New England sun would be f5.6 at 1/500th of a second.)

I then processed the film in Kodak HC110, using the as-recommended ‘dilution B’. (HC110 is a syrupy developer with a variety of different recommended dilutions; dilution B, as I mixed it, is one part HC110 syrup with 31 parts water. Since I require 32 ounces of developer, this makes for a relative straight forward mix. )
[Note: While a metric equivalent needs only to maintain the ratio; for reference: 1 ounce = 29.6 ml; 32 ounces = 946.2 ml]
From start to finish, my black & white process goes like this:
1) Load film on plastic reels into plastic tanks (in total darkness); cover tank and turn on darkroom lights.
2) Bring all chemistry to ideal developer temperature (in this case 68ºF/20ºC).
3) Pour 32 ounces of water into tank as a pre-bath, soak for 1-2 minutes (with very gentle agitation every 30 seconds; three slow inversions, then a firm tap with the tank at a 45-degree angle to dislodge any air-bubbles, sometimes giving a second tap if bubbles appear).
4) Drain pre-wash, and add developer, agitating to start for about 15 seconds (constantly, but very gently), then returning to the 30 second agitation interval as noted. My total process time at 68ºF was 4 minutes 45 seconds.
5) Drain developer, and quickly add stop-bath, agitating for 30 seconds total time.
6) Drain stop-bath, and add First Fix for 2-3 minutes. (My First Fix is typically already been used, and is ideally Ilford Rapid Fix mixed 1:4 with water). Agitate in same manner as developer.
7) Drain First-Fix, add Second-Fix (same mix as first fix, but freshly mixed) for 2-3 minutes.
8) Drain Second-Fix.
9) Rinse in running water for 3 minutes.
10) Inspect negatives.
11) Add Perma Wash/Hypo Clearing agent for 3 minutes.
12) Rinse in running water for 10 minutes.
13) Add Kodak Selenium toner solution (mixed 1:9 water), agitate very gently once every 30 seconds; total time for toning not more than 9 minutes. (Caution: Selenium toner is unhealthy; extreme care is required to avoid contact with the solution and toning should be done in a well ventilated place, typically outside. Wear gloves.)
14) Rinse in running water for 10-15 minutes.
15) Final rinse in clean de-ionized water with a few drops of Kodak Photo-Flo 200 (wetting agent).
16) Remove from reels and hang dry.
I’ve scanned the negatives at 3200 dpi using an Epson V600 flatbed scanner. After making hi-res TIFFs for my archive, I scaled selected images into the JPEG format for Web display. (While my initial application is computer/iPad display, I want a hi-res image for future use.)
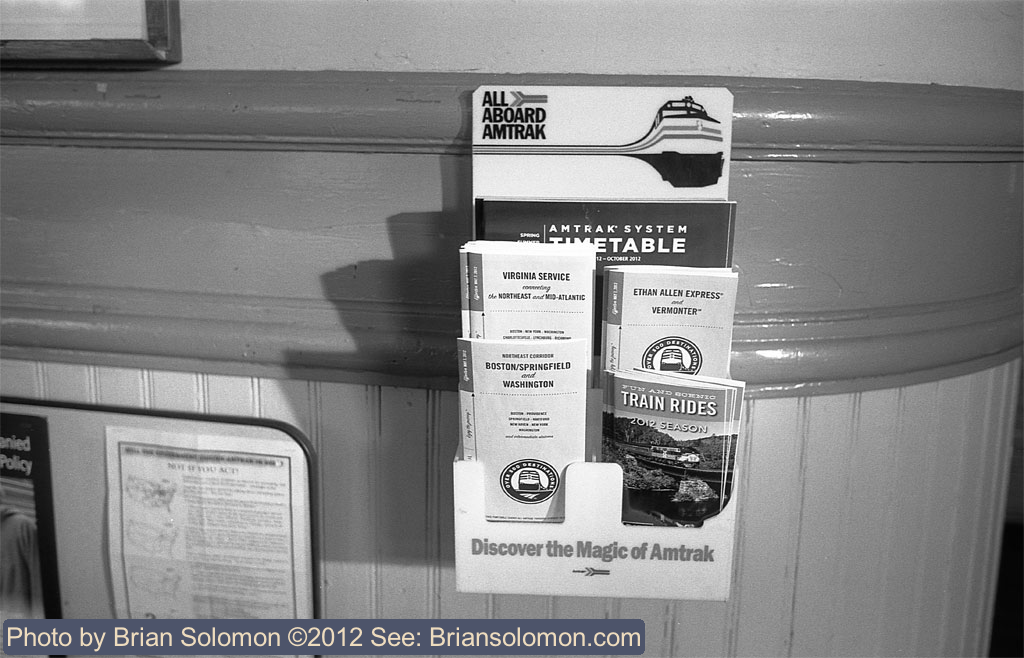
Using this process, I obtained satisfactory results for the iPad, but the negatives required too much post processing to adjust the gamma curve for desirable contrast. Specifically I needed to improve highlight and shadow areas. Also, I found that the peculiarities of the 21mm lens were complicating matters. This lens has almost a polarized contrast/color-palate which made for some challenging black & white images. Some of the photos are pleasing, but my success ratio was less than hoped for.
I found two more pleasing alternatives: One was my Nikon F3 with traditional lenses (topic for another post), the other was working with my Dad’s Leica M4 and a 35mm f1.4 Summilux lens. Using this latter camera/lens combination, I then further refined my processing. Specifically, I increased development time by 30 seconds to 5 minutes 15 seconds, then ultimately to 5 minutes 30 seconds while making two other small changes:
First, I added a very small amount of developer to my pre-bath. This is a technique I use for other B&W processes that seems to have helped here as well. In theory, a very small quantity of developer in the pre-wash should get the development process underway which allows for slight better shadow detail without a dramatic increase of overall negative density.
Second, I cut my Selenium Toning from 9 minutes to 5 minutes, then further to 4 minutes 30 seconds, in order to reduce the effect of the toner on the highlights.
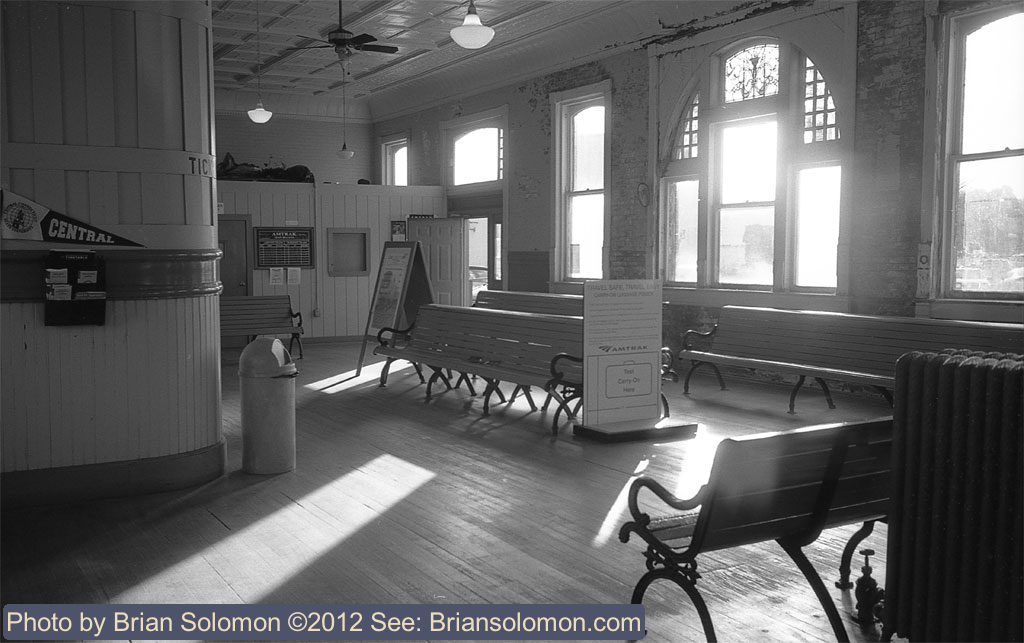
Using these final process modifications, I found that most of the resulting negatives made with the M4/Sumilux required virtually no post-processing and some were ready for display directly from the scanner. All of the photos displayed in this post were exposed and processed as described using the Leica M4 with 35mm Summilux lens with Fuji Across 100, and processed using the basic formula as illustrated. As always, I’ll probably continue to make adjustments to this formula as needed.